Text of Exercise
DevOps Exercise

This exercise’s objective is to evaluate your performance on a project that is similar to what you
may encounter at eGifter. There is no time limit. Do something you are proud of. Questions are
welcome.

Requirements
Automate the process of deploying an ASP.NET MVC Application to the QA environment.

1. This application will eventually be deployed to the STAGE environment and then to the
PRODUCTION environment. Have this into account to handle different configuration
settings that are different between QA, STAGE, and PRODUCTION.

2. The application’s source code is in a GitHub private repo

3. The server hosting the application is an AWS EC2 instance running Windows Server
2012 R2

Design Requirements

Provide a PDF describing your solution. The goal is to communicate the most important aspects
of your solution to other developers. That is, the key things you think we should know to help us
in our evaluation of your solution.

Implementation Requirements
Use any scripting or programming language of your choice

Submission Requirements
Submit as a compressed archive. Do not post your solution in a public repository (e.g. GitHub,
BitBucket, etc)
TL;DR
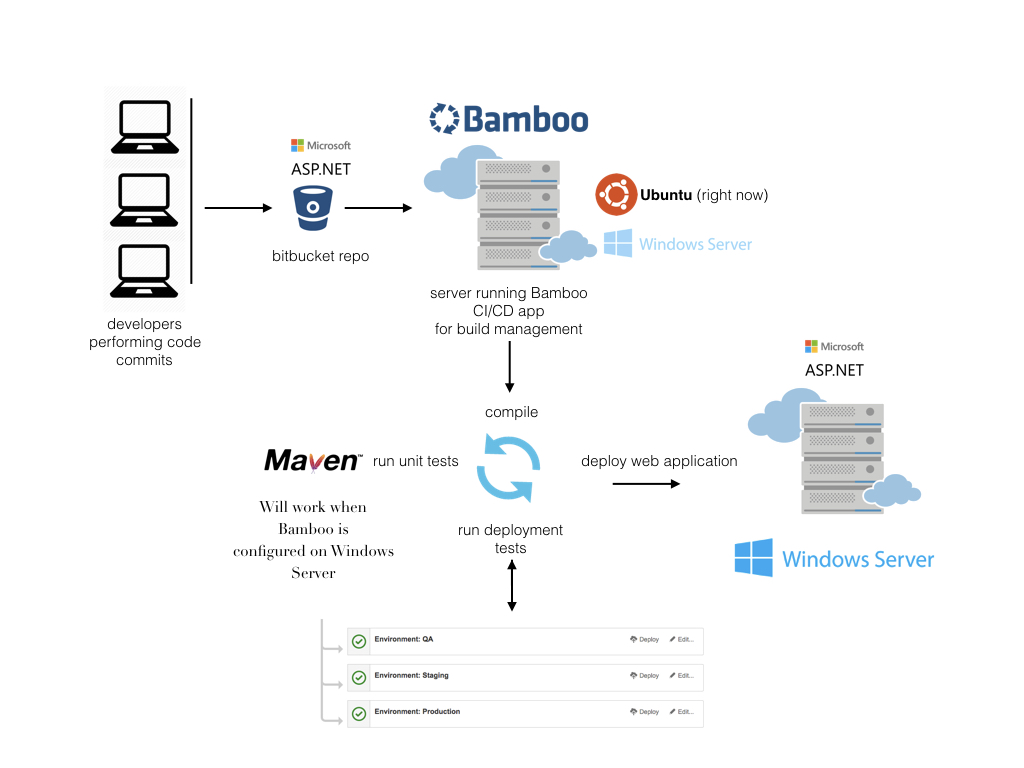
I used bitbucket and Bamboo (for CI/CD) configured on Ubuntu with Apache Maven as the Build Management tool. They’re all sensible choices except for using Ubuntu to configure Bamboo - as the task required using a Windows Server. This was done in the interest of time - I was doing this test during exams, and configuring on Windows would have required a learning curve. Below is the process diagram and the notes that I wrote as I went along.
Overview
- Have an ASP.NET MVC Application to QA -> Staging -> Production environments
- Unique configuration settings for each stage (like in Ruby on Rails - which is also an MVC app - its updating database adapters in database.yml, and different gem versions)
- Applications source code is in a Git environment
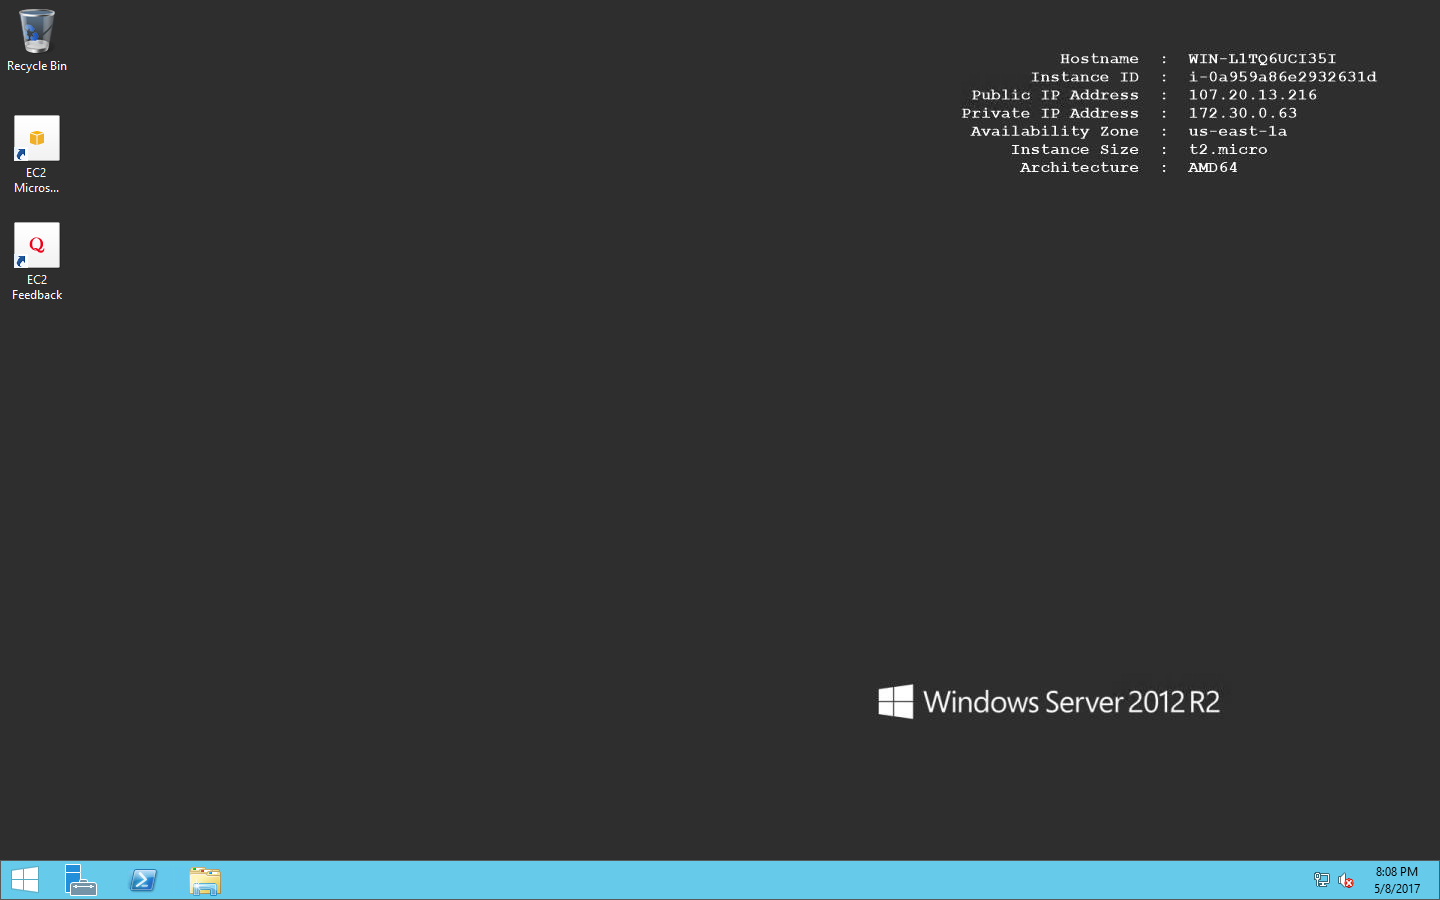
- Spawn an AWS EC2 instance running Windows Server 2012 R2
- Deployment process should be automated
- Make use of any scripting or programming language
- Submit as ZIP
Steps
- Look for test ASP.NET MVC applciation that will serve as a test case for this exercise and set it up as a Bitbucket repo
- Spawn an AWS EC2 instance running Windows Server (WS) 2012 R2
- Download app to Windows Server
- Spawn a linux server to host CI/CD tool (Bamboo)
- Install and configure Bamboo
- Create bitbucket repository for test app
- On Bamboo, Create build and deployment plan for app in QA, Staging and Production Environments
Note:
- Generate a Bamboo license here
- Setup Bamboo deployment task (tomcat is for Java, MSDeploy for asp.net)
- Bamboo (Atlassian) with Build Plans for .NET Project/App and Deployment environments for QA, Staging and Production (Reference this and this)
- Bamboo Setup documentation
Step 1 - Look for test ASP.NET MVC applciation
Using asp.net mvc sample application found on Github, here.
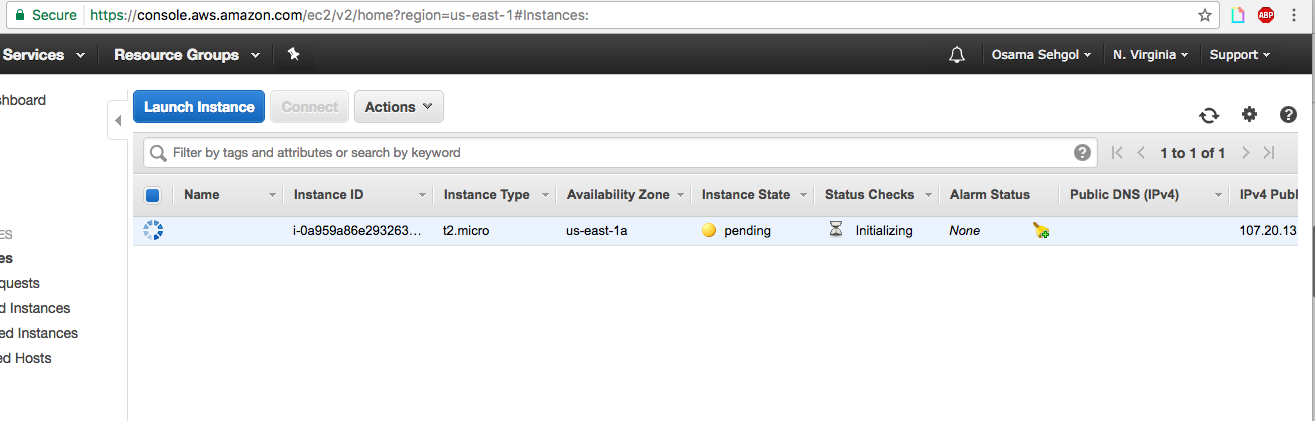
Step 2 - Spawn an AWS EC2 instance running Windows Server (WS) 2012 R2
Following documentation here
Spawning a 2012 R2 free tier eligible instance.
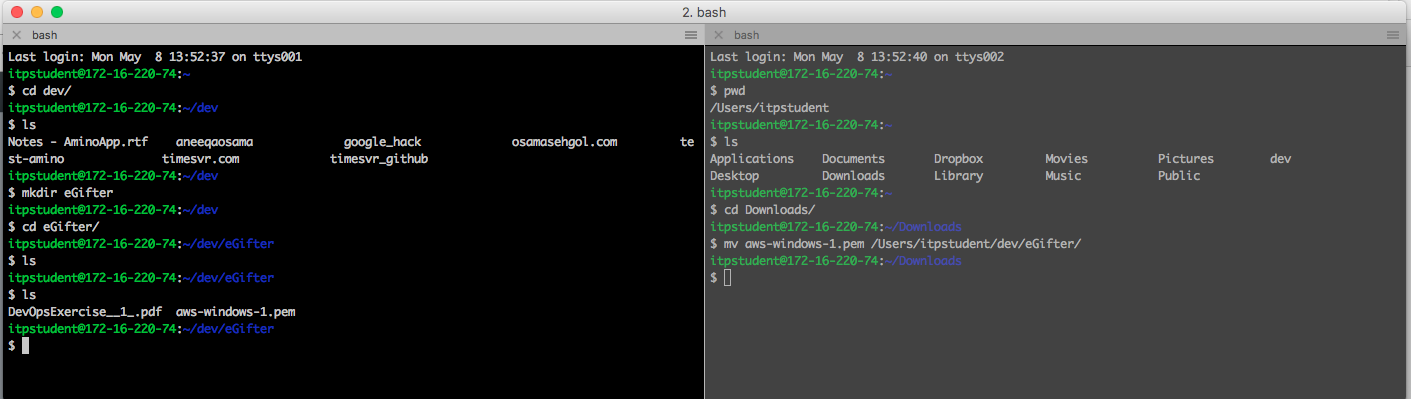
generate and move aws-windows-1.pem key-pair to eGifter on local
Instance launch - with public IP: **
Password: ** Username: Administrator
Windows Server accessed through Mac:
To access Windows Server from Mac (Unix) will be through SSH: Documentation
Step 3 - Setting up Bamboo on Linux server
Using documentation here and here
Login to server (on Digital Ocean)
Configure Java environment
apt-get update

#Updating apt-get-repo to install Java
add-apt-repository ppa:webupd8team/java

apt-get update

#Install Java-8
apt-get install oracle-java8-installer
#Accept licenses

#Update PATH for $JAVA_HOME
 nano /etc/profile

#Add:
 export PATH=$PATH:/usr/lib/jvm/java-8-oracle/jre

#source it
source /etc/profile

#Check $JAVA_HOME
echo $JAVA_HOME
#Outputs >> /usr/lib/jvm/java-8-oracle

#Check Java version:

java -version
#java version "1.8.0_131"
#Java(TM) SE Runtime Environment (build 1.8.0_131-b11)
#Java HotSpot(TM) 64-Bit Server VM (build 25.131-b11, mixed mode)
Installing PostgreSQL
#Add source to apt-get package manager
add-apt-repository "deb https://apt.postgresql.org/pub/repos/apt/ trusty-pgdg main"

#add PGP key from postgres
wget --quiet -O - https://postgresql.org/media/keys/ACCC4CF8.asc | apt-key add -

#update package manager
apt-get update

#And install
apt-get install postgresql-9.4
Configuring Postgres
#switch user from root to postgres
su - postgres

>>root@bezos:~# su - postgres
>>postgres@bezos:~$

#create user
createuser -S -d -r -P -E osama

Getting error,
createuser: could not connect to database postgres: could not connect to server: No such file or directory
  Is the server running locally and accepting
  connections on Unix domain socket "/var/run/postgresql/.s.PGSQL.5432"?

#check postgres process
ps aux | grep postgres
# it's not running

/etc/init.d/postgresql start
#authenticate as root
#create user, osama

createuser -S -d -r -P -E osama
#Enter password ********

#create database called bamboo owned by user osama
createdb --owner osama --encoding utf8 bamboo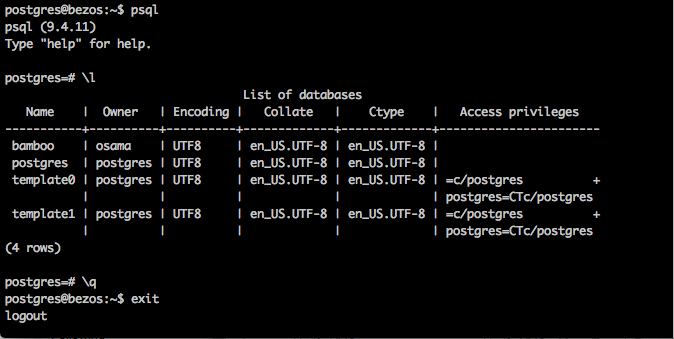
A recap, we’ve installed Java (configuring our server for Bamboo install). Installed and setup Postgres database which will be used in Bamboo. Moving on, we’re going to install Atlassian Plugin SDK and install Bamboo.
Install Atlassian Plugin SDK (documentation)
#update source list
sh -c 'echo "deb https://sdkrepo.atlassian.com/debian/ stable contrib" >>/etc/apt/sources.list'

#Adding key
sudo apt-key adv --keyserver hkp://keyserver.ubuntu.com:80 --recv-keys B07804338C015B73

apt-get update
apt-get install apt-transport-https
apt-get install atlassian-plugin-sdk
Download Bamboo 5.14.5 (current)
wget https://www.atlassian.com/software/bamboo/downloads/binary/atlassian-bamboo-5.14.5.tar.gz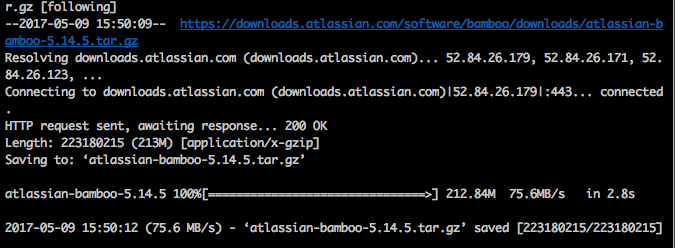
Moving tar.gz from /root to home and tar -zxvf it:
root@bezos:/home# mv ~/atlassian-bamboo-5.14.5.tar.gz /home/
root@bezos:/home# tar -zxvf atlassian-bamboo-5.14.5.tar.gz
Creates folder, atlassian-bamboo-5.14.5, let’s rename it bamboo and move it to /opt:
 \
root@bezos:/home# mv atlassian-bamboo-5.14.5 bamboo/
root@bezos:/home# mv bamboo/ /opt/
Important: Bamboo has two directories. 1. Installation Diretory (in /opt) 2. Home Directory (in /var) The home-directory has data/logs for active sessions.
Creating Bamboo Home-Directory path:
mkdir /var/atlassianbamboo
And telling Bamboo where it is:
cd /opt/bamboo/atlassian-bamboo/WEB-INF/classes
nano bamboo-init.properties
Add: bamboo.home= /var/atlassianbamboo
cd /opt/bamboo/bin
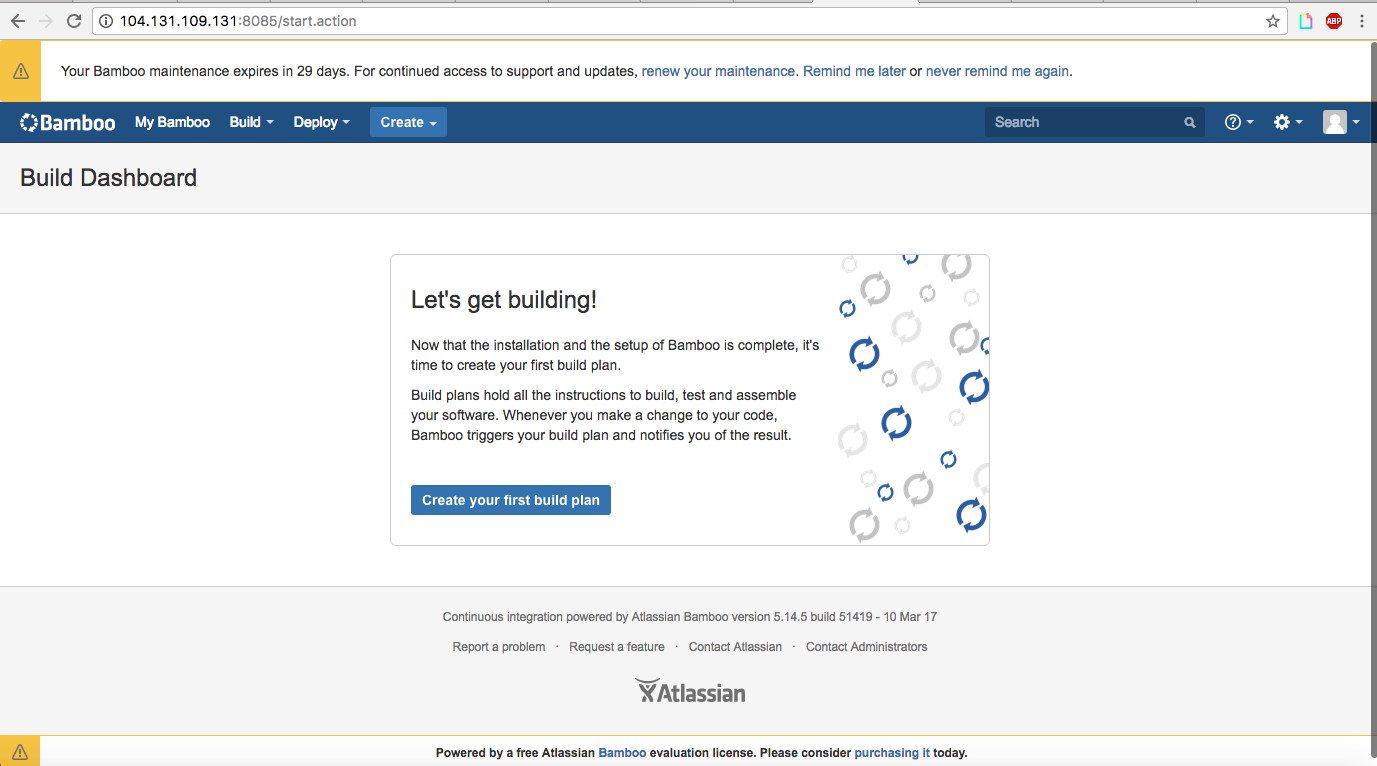
./start-bamboo.shStart it:
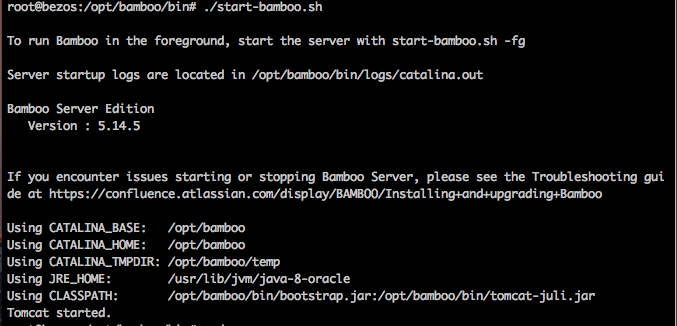
This will be the URL:
http://:8085
Let’s check the logs, since it’s the first startup:
root@bezos:/opt/bamboo/logs# tail -500f catalina.outGetting an insufficient memory error:
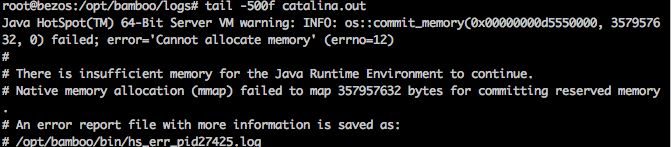
JAVA eats alot of memory.
Gonna resolve:
https://www.digitalocean.com/community/questions/insufficient-memory-for-java-runtime-environment One of the suggestions is to add a swap file. Swap is an area on a hard drive that has been designated as a place where the operating system can temporarily store data that it can no longer hold in RAM. How to add Swap?
https://www.digitalocean.com/community/questions/insufficient-memory-for-java-runtime-environment
Changed: /opt/bamboo/bin/setenv.sh
JVM_SUPPORT_RECOMMENDED_ARGS=”-Djsse.enableSNIExtension=false -XX:+PrintGCDetails -XX:+PrintGCTimeStamps -verbose:gc -Xloggc:/opt/atlassian/bamboo/GCdump.log -XX:+HeapDumpOnOutOfMemoryError -XX:HeapDumpPath=/opt/atlassian/bamboo/HeapDump.log”
Change the java memory to JVM_MINIMUM_MEMORY=”2048m”
JVM_MAXIMUM_MEMORY=”2048m”
Still getting the Java memory error
root@bezos:~# htop root@bezos:~# df -h Filesystem Size Used Avail Use% Mounted on udev 234M 0 234M 0% /dev tmpfs 49M 13M 37M 26% /run /dev/disk/by-label/DOROOT 20G 12G 6.8G 64% / tmpfs 245M 4.0K 245M 1% /dev/shm tmpfs 5.0M 0 5.0M 0% /run/lock tmpfs 245M 0 245M 0% /sys/fs/cgroup tmpfs 49M 0 49M 0% /run/user/0 root@bezos:~# fallocate -l 4G /swapfile root@bezos:~# ls -lh /swapfile -rw——- 1 root root 4.0G May 9 18:18 /swapfile root@bezos:~#
Enabling the Swap File
we need to adjust the permissions on our file so that it isn’t readable by anyone besides root. chmod 600 /swapfile
Verify file has correct permissions:
ls -lh /swapfile
root@bezos:~# sudo mkswap /swapfile mkswap: /swapfile: warning: wiping old swap signature. Setting up swapspace version 1, size = 4194300 KiB no label, UUID=b8f2868f-cc95-40c6-86a1-cde2d215c41d
Our file is now ready to be used as a swap space. We can enable this by typing:
sudo swapon /swapfile
verify
root@bezos:~# swapon -s Filename Type Size Used Priority /swapfile file 4194300 0 -1
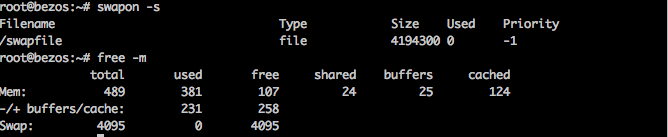
Enabling SWAP file resolved JAVA memory issue. However, I was unable to access Bamboo at **:8085, so I checked the logs (tail -500f catalina.out)
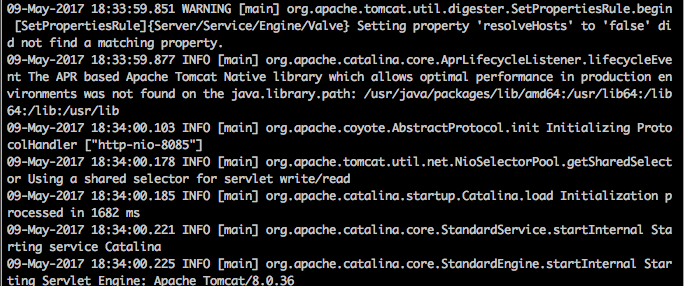
Nothing unusual there.
Checked Friewall settings:
ufw status numberedShows that my current device IP is not setup to receive access to port 8085
ufw allow from ***** to any port 8085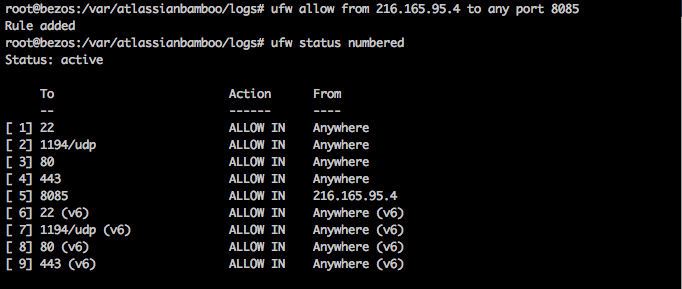
Now it works
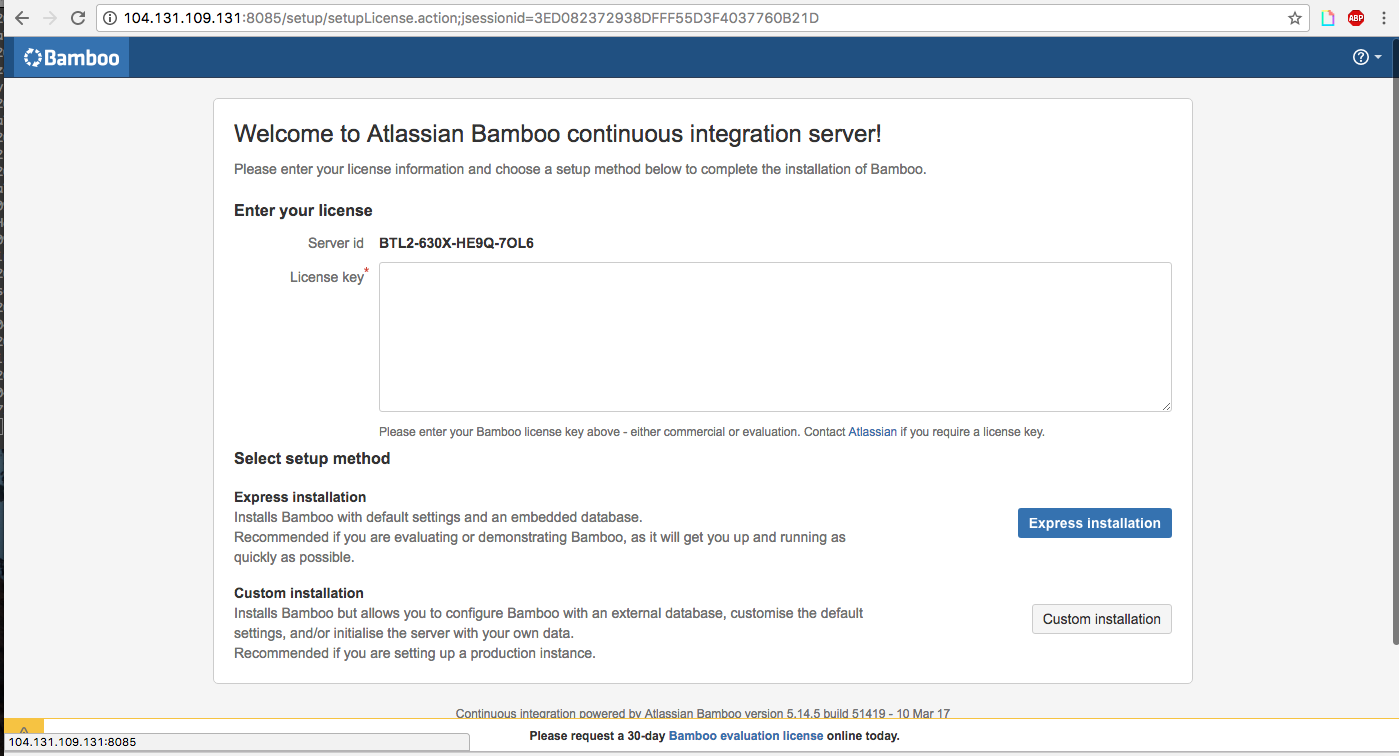
Generating Bamboo license here
It will be for 90 days, server ID is: ****
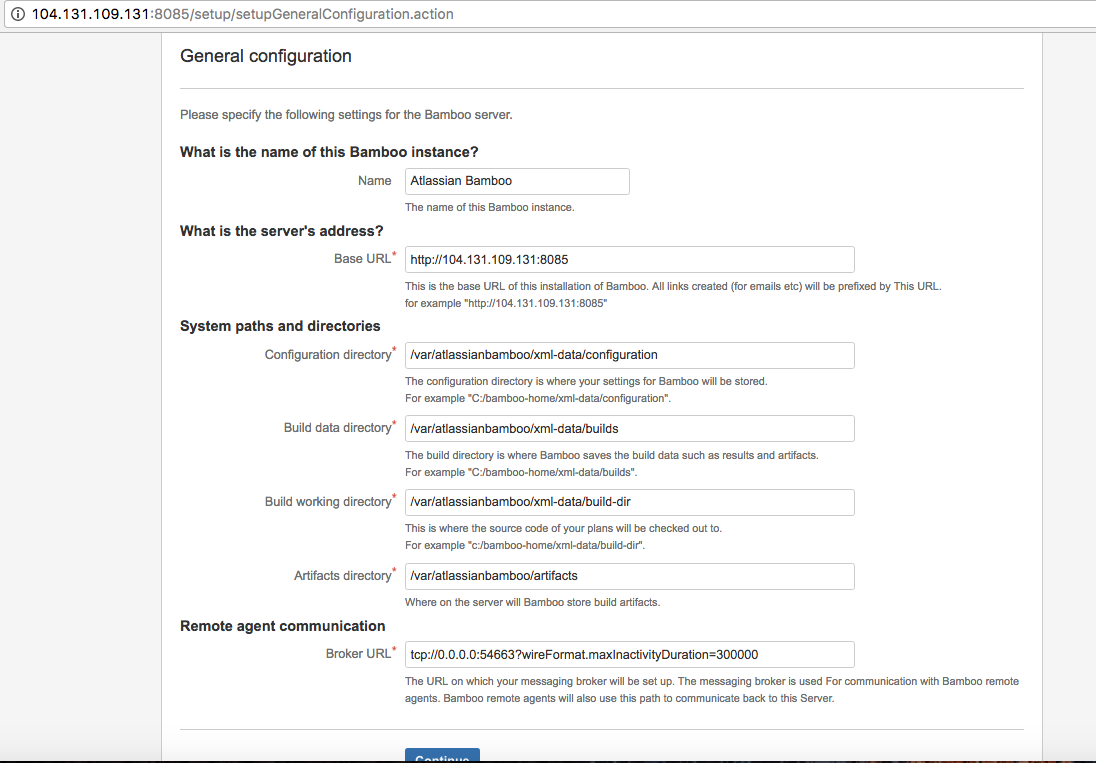
[redacted]Under Custom Installation, leave General Configuration as is (for now, we’ll change Base URL when we have a custom domain dev.egifter.com/bamboo e.g)
Select External Database > Postgresql (which we setup above)

Enter following information created when setting up our database:
Connection Type: Direct JDBC connection Driver Class Name: org.postgresql.Driver Database URL: jdbc:postgresql://localhost:5432/bamboo User Name: osama Password – ****
Uncheck “Overwrite existing data”
Keep monitoring logs as database is setup:
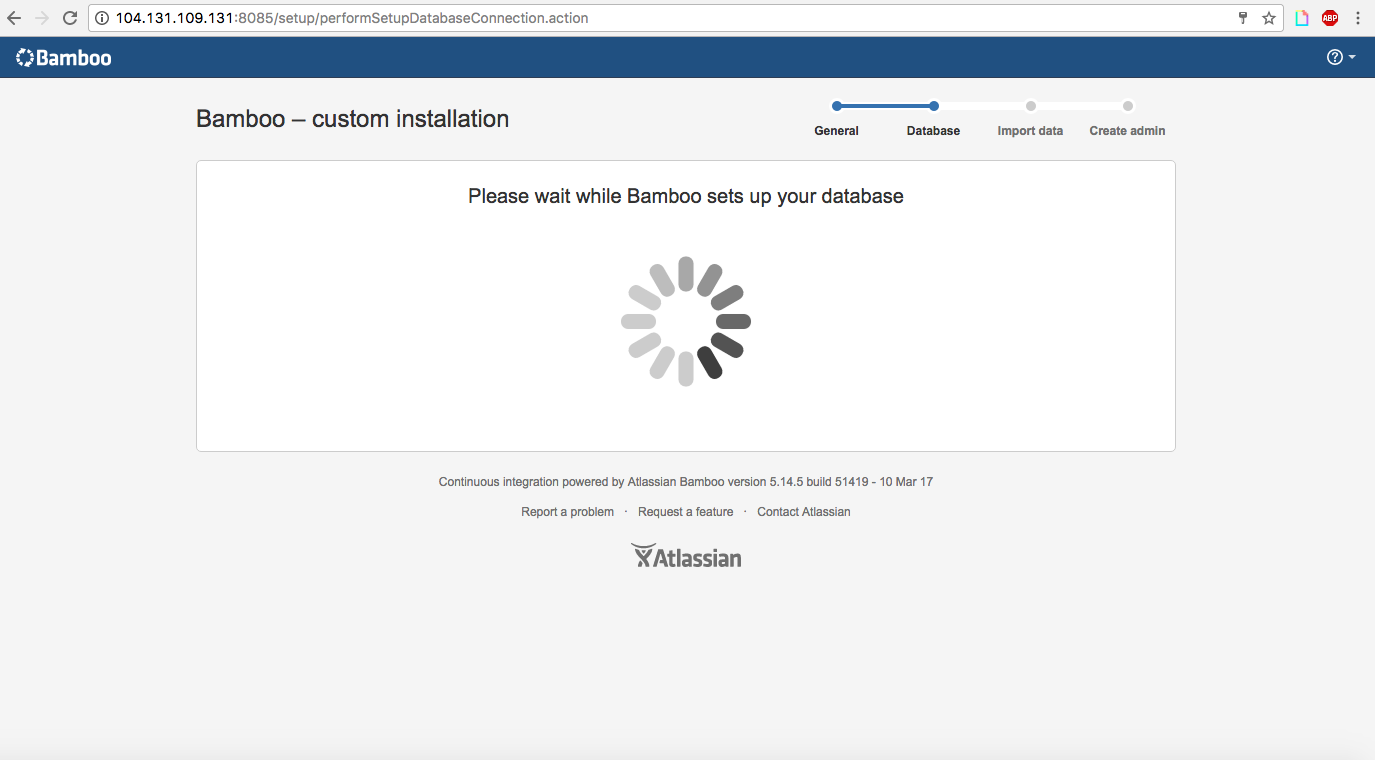
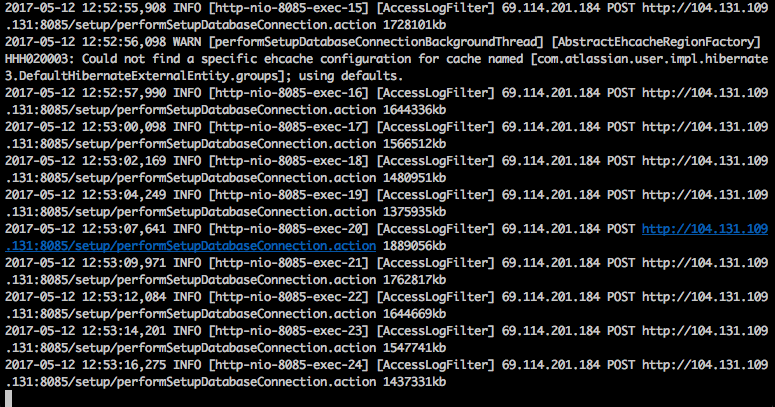
When complete,
- select Create a new Bamboo home.
- Click Continue.
- Set up your ‘Administrator User Details’:
- Username: osehgol
- Password – ****
- Full Name: Osama Sehgol
- Email – [email protected]
Keep tailing the logs as installation goes through completion.
Done,
Reference Step 14-20 of tutorial,
Now you will check that your Bamboo configuration includes your default executable and JDK. Click > Bamboo administration > Overview in the top navigation bar. The ‘Bamboo Administration’ screen will appear. Click Executables in the left-hand menu.
The ‘Executables’ screen will appear. Look through the list on the left, to see if your build tool is included along with the default tools
like Script, MSBuild or Bash. For this integration exercise, we assume that you are using Maven 3. In that case, you should see ‘Maven 3’ listed in the tabs on the left.
“An executable is an external program that Bamboo uses during the build process. Generally, executables compile source code to generate compiled executable files (referred to as artifacts in Bamboo). Ant, Maven, MSBuild or PHPUnit are just some examples of executables that can be used as part of your build process.”
If your executable is not included, click add an executable as a server capability near the top of the page. The ‘Add Capability’ panel will appear. Enter the following information: Capability Type: Executable Type: Maven 3.x Executable Label: Maven 3 Path – /usr/share/atlassian-plugin-sdk-6.2.14/apache-maven-3.2.1 Click Add.
Documentation on Defining an Executable Capability in Bamboo
JDK CHECK Check that your Bamboo configuration includes your JDK. Click JDKs in the left-hand menu.
The ‘JDKs’ screen will appear. Look through the tabs on the left, to check that your JDK is included. You will need Oracle JDK 1.7 or higher. Note that the JRE alone is not enough. Stage 1 of these instructions will guide you through the JDK installation procedure. For this integration exercise, we assume that you are using JDK 1.7. In that case, you should see a ‘JDK’ tab on the left and a ‘JDK 1.7’ tab. Ensure that your Java Home environment variable is pointing to your JDK directory, not your JRE directory.
If your JDK is not included, click add a JDK as a server capability. The ‘Add Capability’ panel will appear. Enter the following information.
- Capability Type: JDK.
- Label: JDK 1.7.
- Java Home – Enter the path to your JDK installation. This should be the same as the value that you have specified in your JAVA_HOME environment variable. For example: C:\Program Files\Java\jdk1.7 (Windows) or /opt/java/java_sdk1.7 (UNIX). Click Add.
Done.
Step 4 - Setting Up App Repo in Bitbucket
Cloning sample app from Github to Bitbucket - it is now in my Bitbucket
Step 5 - Creating a new Plan for CI/CD
Create > Build Plan
- Project name (required): eGifter Test
- Project key (required): ET
- Plan name (required): eGifter Test Plan
- Plan key (required): ETP
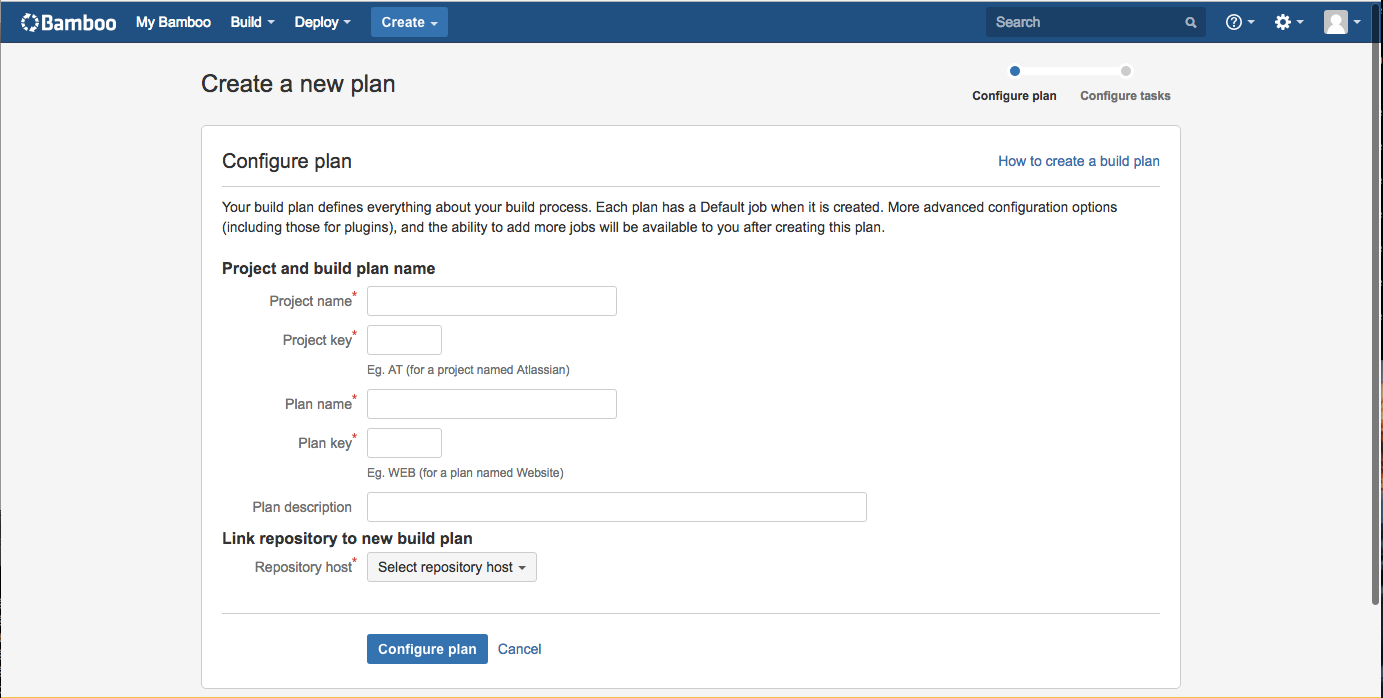
- Link repository to new build plan
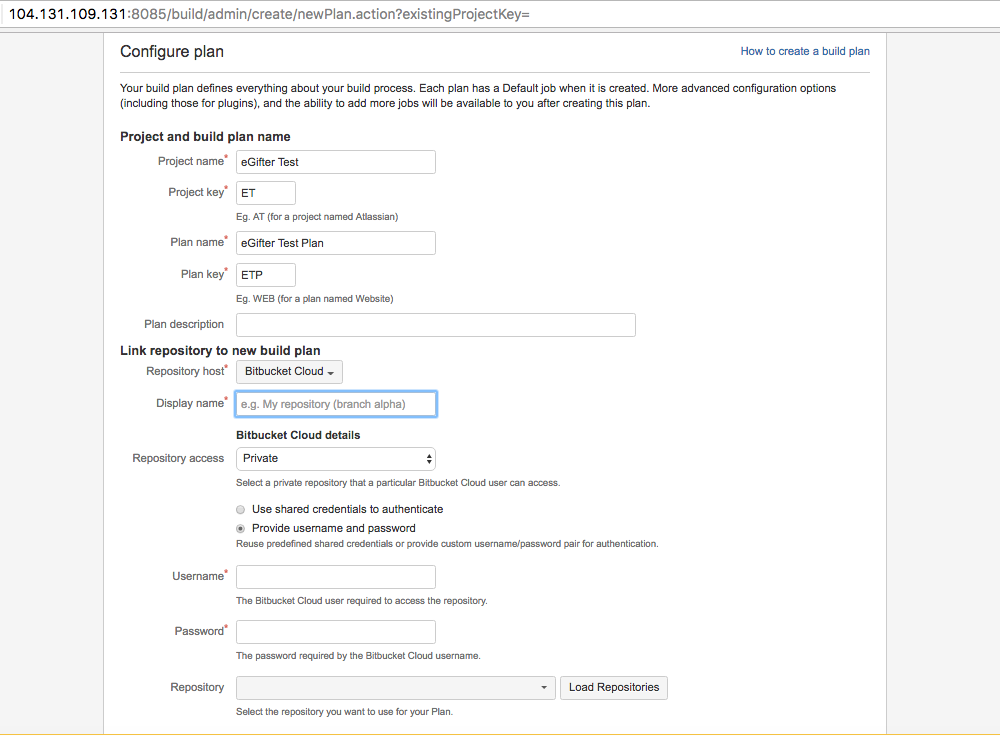
- Repository host (required): Bitbucket Cloud
- Display name (required): eGifter Test Plan
- Repository Access: Private
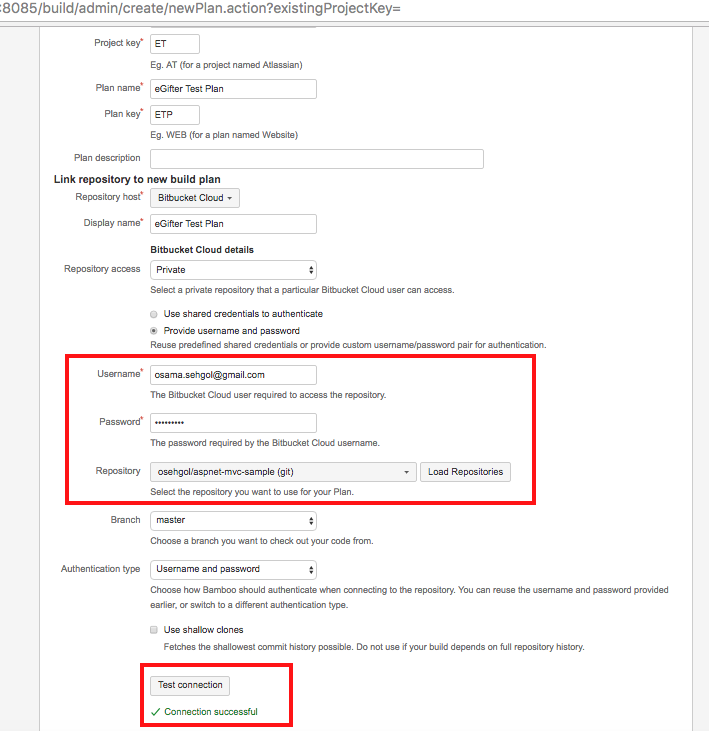
- Username: bitbucket cloud username
- Password: (its **)
- Select Repository (asp-mvc-sample)
- Authentication Type - Username & Password
Click Configure Plan
Tail the logs (New Plan configuration logs):
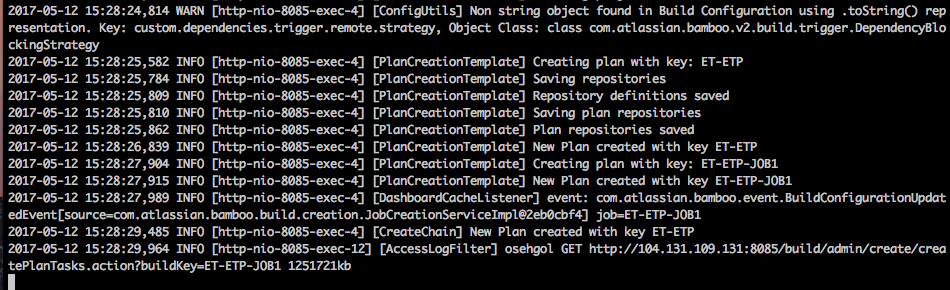
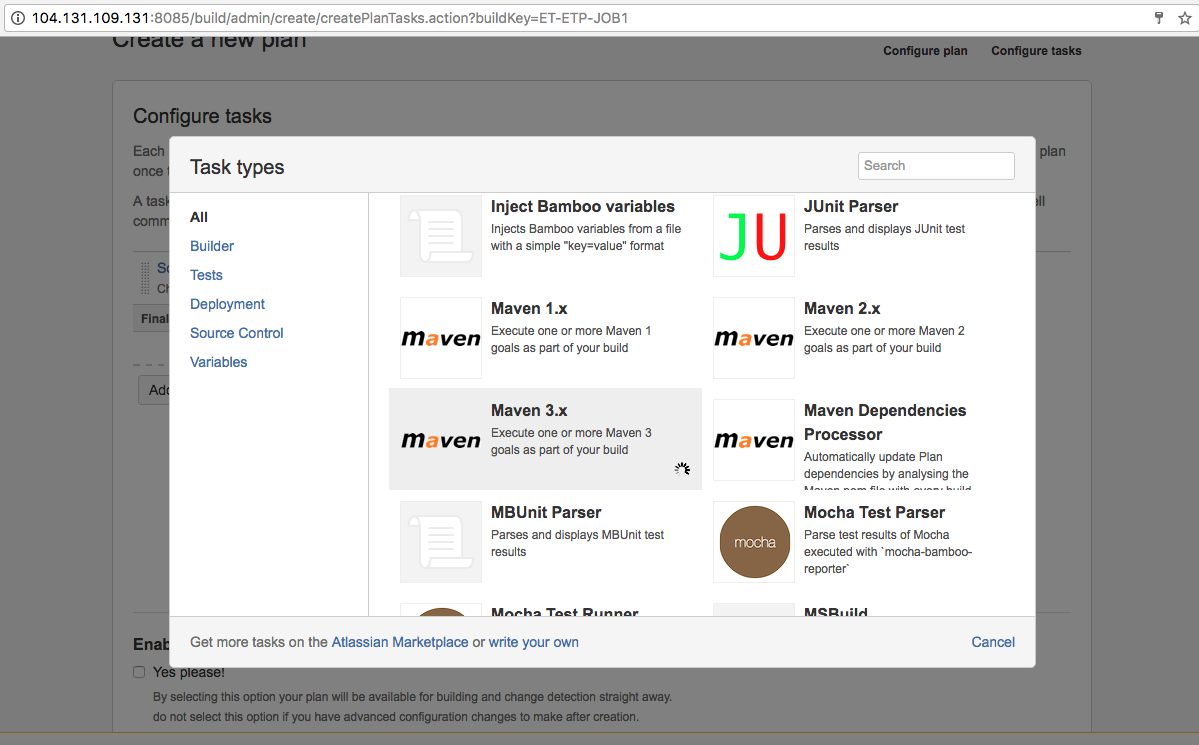
Create Maven (3x) Task:
- Executable: Maven 3x
- Goal: clean install
- Build JDK: JDK 1.8
Save
Step 6 - Perform Maven Build
- Perform Maven Build
- Then configure Bamboo Build plan
- Docker setup
Performing maven build,
(i) mkdir /opt/atlassian/ && cd there
(ii) wget http://mirror.cc.columbia.edu/pub/software/apache/maven/maven-3/3.3.9/binaries/apache-maven-3.3.9-bin.tar.gz
(iii) tar -xvzf apache-maven-3.3.9-bin.tar.gz
(iv) nano /etc/profile
export PATH=$PATH:/usr/lib/jvm/java-8-oracle/jre
export PATH=$JAVA_HOME/bin:$PATH
export APACHE_MAVEN_HOME="/opt/atlassian/apache-maven-3.3.9/bin"
export PATH=$PATH:$APACHE_MAVEN_HOME
(v) source /etc/profile
(1) The Maven Archetype plugin creates a directory simple that matches the artifactId. This is known as the project’s base directory.
(2) Every Maven project has what is known as a Project Object Model (POM) in a file named pom.xml. This file describes the project, configures plugins, and declares dependencies.
(3) Our project’s source code and resources are placed under src/main. In the case of our simple Java project this will consist of a few Java classes and some properties file. In another project, this could be the document root of a web application or configuration files for an application server. In a Java project, Java classes are placed in src/main/java and classpath resources are placed in src/main/resources.
(4) Our project’s test cases are located in src/test. Under this directory, Java classes such as JUnit or TestNG tests are placed in src/test/java, and classpath resources for tests are located in src/test/resources.
Setting up ASP MVC APP with Maven
$git clone https://bitbucket.org/osehgol/aspnet-mvc-sample
$cd aspnet-mvc-sample/
$mvn archetype:generate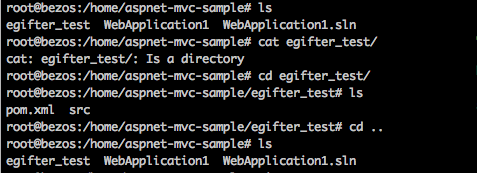
$cd egifter_test/
$mvn install
$git add .
$git commit -m "maven installed"
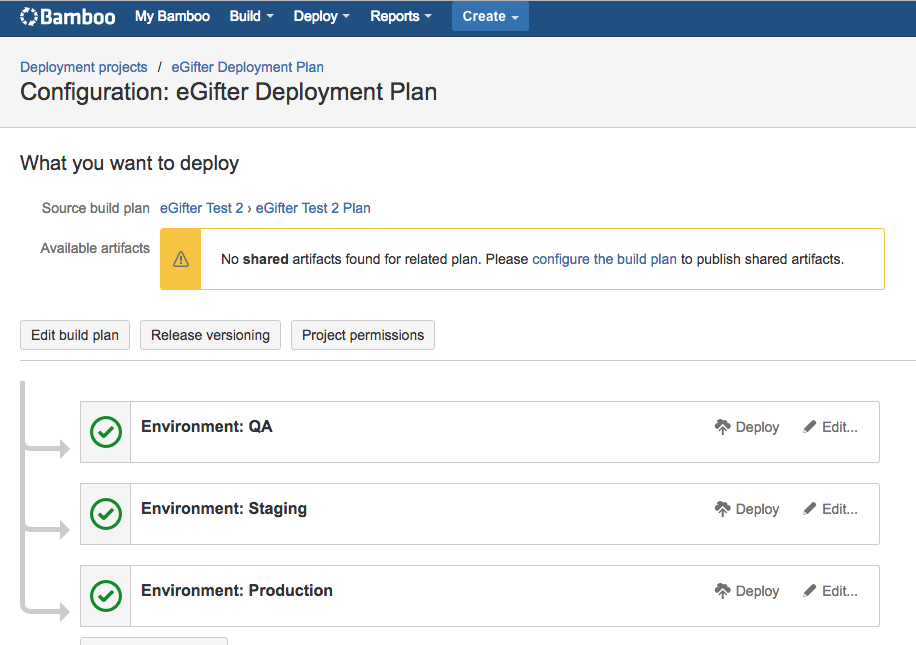
$git push origin master (push to bitbucket so)Step 7 - Create Deployment Plan (QA, Staging, Development)
Would be configured for shared artifacts from Build Plan.
Setup 3 Environments (i) QA (ii) Staging (iii) Production (below) Created tasks of deploying web app to server